Step One - Client Account Setup
1) Using the 'Access Your Account" link at the bottom of the delivery email. If this is the first time accessing your account, it will ask you to set your password. Now you are ready to access your account.
2) Your landing page will show you all you open orders under Preparing Sites and all your active sites under Active Property Sites.
3) Set up your account details by clicking on the "ACCOUNT" tap in the upper left side. This will bring up your account details.
4) Check your "It's All About You" section making sure the information is filled in and correct. Check your name, Check your Job Title (REALTOR® Or Broker) Check your email address. You can add a CC email if you need your office admin, assistant or marketing manager to receive a copy. Add a link to your agent website/broker website. *note make sure your License # is correct and any disclaimers your broker requires. The Inventory URL is a page you can create in your account to market all your tours on one page.
5) Check the Receive Text Messages box and add the number you use for texting.
6) Add your links to your social media accounts in the "Social Media" section
7) Billing Address is not required, but you can add it if you want too.
8) Advanced Account Customization is where you can add a custom message to your weekly traffic report.
9) Add Your headshot "Solid Background" standard JPG photo. Transparent Background headshot standard PNG transparent background.
10) Account Logos - Required to have the firm name as registered with the real estate commission. Team logos without the registered firm name is not permitted by the real estate commission and is considered a blind ad unless the team name is registered as a DBA with the commission.
11) Default Design & Flyer is not required, but you can set a defaults for your account here.
This Completes Your Client Account Detail Setup
We will now go over how to complete your property site setup for your listings. If you order photos only you can skip these steps.
Step Two - Property Site Setup
1) Go to the SITES tap at the top right of your account page.
2) Select the property you want to setup
3) This will take you to the "Site Summary" tap where you can review info. about the property site and add A note to sell on the weekly traffic report.
4) Select the "Site Data" tap
5) Under "Listing Info" add your MLS#, we recommend leaving the List Price blank, You can add a Special Marketing banned using the dropdown and add an expiration date for the marketing banner.
6) Property Features - check all the data fields to ensure they are completed and correct. You can use the default links for school and demographics or add a custom link or disable the links if you do not want them to show.
7) Property Description - add your property description used for marketing. (Your first sentence in your description should be all caps and grabs the buyers attention. Sample - Experience Waterfront Luxury like never before, Schedule Your Exclusive Showing at this Stunning Lake Norman Home Today!
8) In the Key Word (for Search Engines) add the keywords you want the property site to be indexed under. Sample - Mooresville Homes For Sale, Lake Norman Homes, Lake Norman Luxury Homes, Lake Norman Waterfront Homes, Lake Norman, Moving to Lake Norman, Where to Live On Lake Norman, Mooresville Homes, Winston Salem Homes For Sale, Winston Salem, Moving to Winston Salem, Forsyth County Homes For Sale, Where to live in Winston Salem separated each by a comma.
9) Noteworthy Amenities - Add special property features or neighborhood amenities to attract attention.
10) Property Location - Check to make sure the map and pin are correct for the property. you can adjust the pin location by clicking on the pin and move it as needed.
11) Buyers Commission - Here is where can display the buyers commission and supporting text. This will show under your contact info on the branded site Sample Text: (Buyers Agent Commission 3%). It is up to the agent, their firm and MLS rules if this field can be used. Agents should check with their Broker In Charge and MLS on using this field.
12) Room Dimensions - We recommend you add room dimensions and not leave them blank so the buyers can get a better feel for room sizes. This also adds move value to the tour for potential buyers.
This Completes Site Data Setup
Step Three - Site Media
1) Download Page - This is where you can download all your media in one spot.
2) Under "Site Media" you can move the photos to appear in the sequence you want them to play in the slideshows and social media teaser videos. Just click on the image and drag it the where you want it to be. If you don't want some images to show, click on the eyeball icon and it will hide the image. You can also upload your own photos using the upload button located at the end of the photo section. (It is very important that you only upload photos/media that you own or have been given written permission to use. failure to do so my lead to a copyright issue).
3) Floor Plans - If you have ordered a floor plan this is where it will show. We also have a feature where you can add photo hotspots to your floor plan. We recommend you download your floor plan then add it back so you have 2 floor plans. Take the second floor plan and click on it to bring up the window where you can add the photo hotspots. Drag and drop the photo hotspots to the location on the floor plan. You can change the size of the hotspot using the Size slider. Now you will have one floor plan to show the layout and one to show the views of the rooms. This will help the buyer visualize the flow of the property.
4) Site Attachments - Is where you will find your property measurements if you ordered them and any other attachments like videos. You can also upload your disclosure statements, feature list sheets and other documents in this section. They will display on the property site. If you don't want them to show on the site just click the eyeball icon and they will not display.
5) Embedded Media - This is where you can add links to 3D tour, Matterport, Videos and other media using links. You can also edit the media and mark the media to display or not to display on your brander or unbranded property sites. (To add your Matterport to the property tour site Click the black button the says Add Embedded Media, add a name for the Matterport, copy and paste the URL for the Matterport, select where you want the media to show and click OK. For videos, copy and paste the sharable URL, select where you want the media to show and click OK.
This Completes Site Media
Step Four - Site Activation
1) Site Lifespan - This is where you can control the status of the property site. You can move the site to Pending, Sold, Offline or Archive the site to remove it from your account. Simply click the GO button the status you want.
2) Property Links - This is where you can find all the links to you site and media.
3) Social Media - This is were you share you tour to social media sites.
This Completes Site Activation
You Are Now Ready To Put Your Tour Link Into the MLS
1) Copy the property tour link into the tour field in the MLS (This is the recommended method to share your tour). To find you property link go the the Marketing Kit and scroll down to the your branded and unbranded property site section. Click the first button "Copy Branded Link" and paste this link into the MLS tour field for tours. If your MLS also has a branded tour field, repeat the steps above but use the "Copy Branded Link" and paste it into the branded field or copy from the delivery email.
* CANOPY MLS - As of August 22, 2024 Canopy MLS agents should use the Branded Property Site Link from the competition email or the link in the Marketing Kit under Website Links, for the link to add to the MLS tour field.
* Triad MLS - agents should use the Unbranded Property Site Link from the competition email or the link in the Marketing Kit under Website Links, for the link to add to the MLS tour field.
* High Country MLS - should use the Unbranded Property Site Link from the competition email below or the link in the Marketing Kit under Website Links, for the link to add to the MLS tour field.
* Note: it is not recommended to use the embedded media links for the tour link fields in the MLS. You should only use the "unbranded or branded" links in the Marketing Kit for the MLS tour fields.
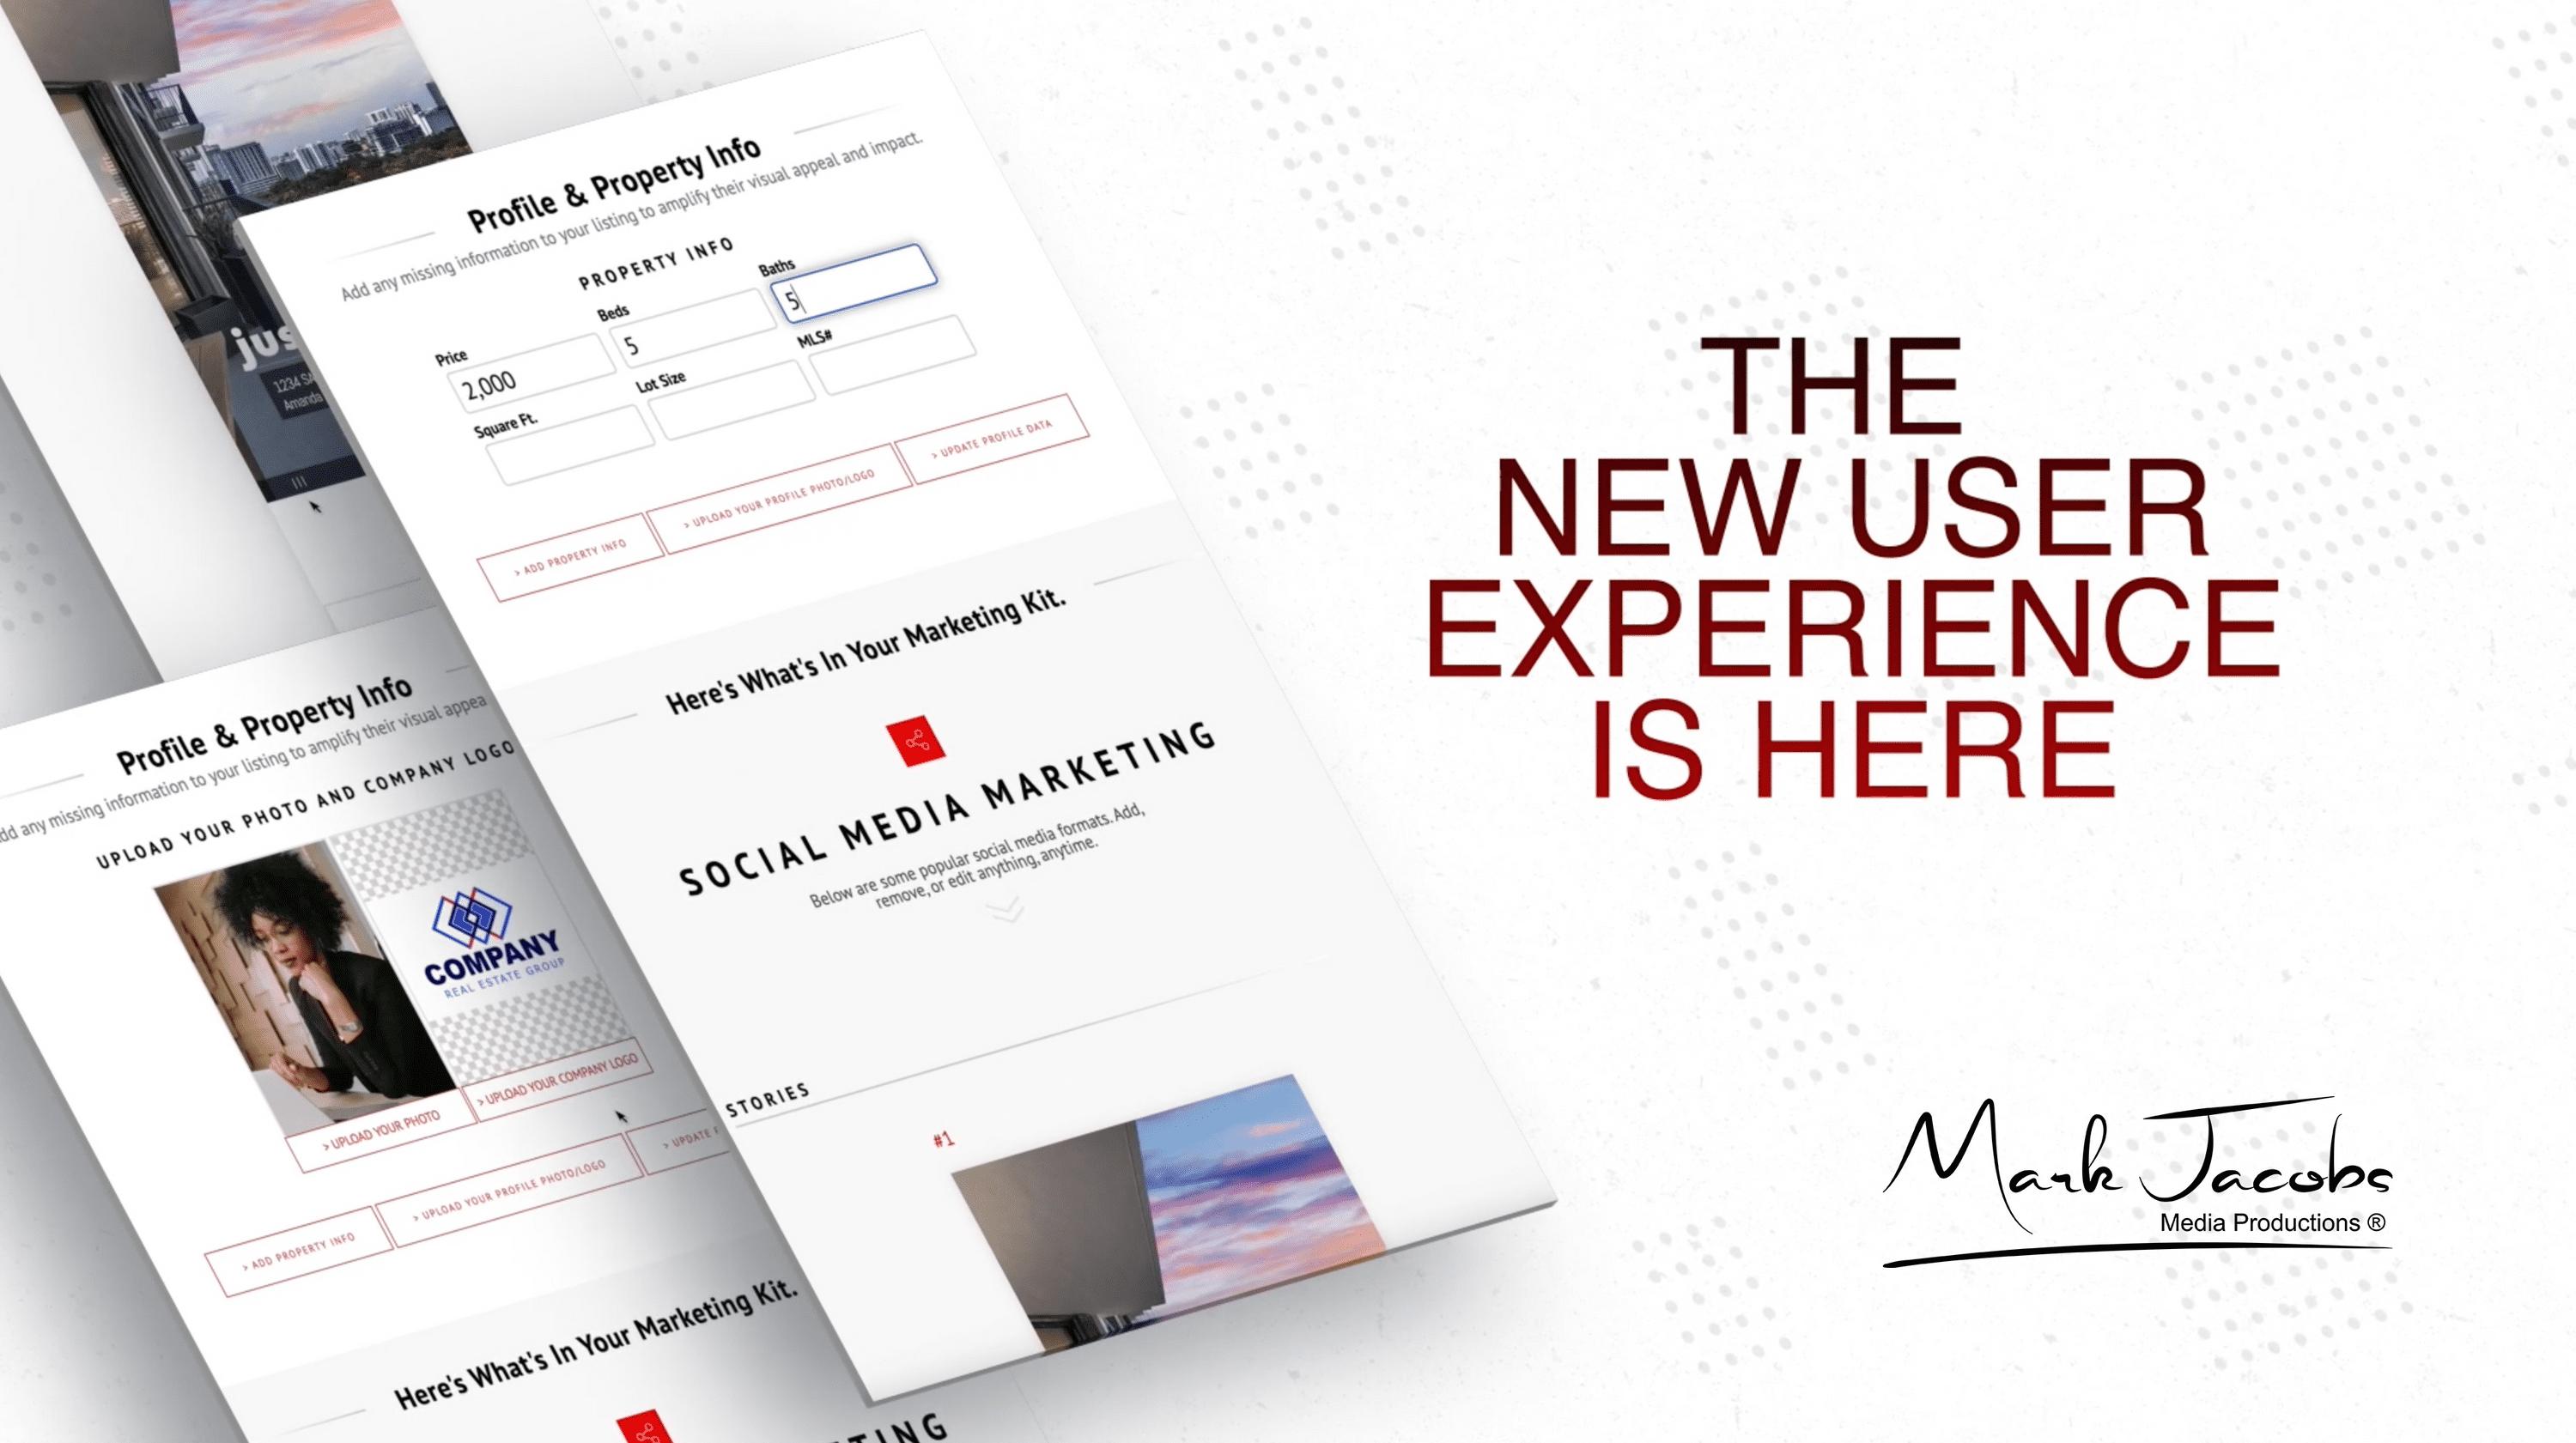
Step Five - Marketing Kit
1) This is where you can create and customize your marketing materials for this property.
2) Profile & Property Info - You can add property info, upload your logos and update your account profile data.
3) Your Branded & Unbranded Property Site - This is where you can download your QR code, copy branded and unbranded links. You can also edit details and design settings, Edit the website design, change web address (not recommended) and change the background music. Use the unbranded link for most MLS's and the branded link for all other sites and social media. NOTE: Canopy MLS allows you to use the branded link but remember not the fill the the buyers commission field if you are going to use it as your MLS link.
4) Additional Site Themes - This is where you can change the theme of the property site.
5) Slideshows - There are 4 types of slideshows. You can create and customize your social media videos. Social media teaser videos play 33 images and the branded and unbranded videos play 50 images. You can select which images play in the videos by selecting the star icon in the lower right of the photos. The video will give priority to the stared images first and then play the images without stars until it reaches the video limits. If you don't want images to show click on the eyeball icon to hide them.
*Note - There are now 2 types of slideshows 1) Slideshows 2) Legacy Slideshows. Be sure to check and edit the teaser and wide teaser Slideshows to ensure your logo is the correct size and is not cut off. You can also delete the logo if you do not want it to show on the slideshow.
6) Social Media Reels - You can create and customize your Stories & Reels
7) Stories and Post - You can create and customize your graphics for your Facebook stories, Instagram, Pinterest and more.
*Note: When posting marketing kit material to social media accounts, you should first use the music offer by the social media account. The platforms algorithms prefer their trending songs which will help the post reach a larger audience. Or you can use the music provided in the marketing kit. All music provided in the marketing kit has been licensed and can be used on social media.
*Be sure to check the social media platform Terms and Conditions for using the music provided for "commercial usage". Real Estate, AirBnB/VRBO/Rental and Commercial Real Estate marketing is considered "commercial usage". This should prevent any copyright issues with music.
8) Landscape Post - You can create and customize your landscape post images. Be sure to set your default share image for you listing in the landscape post if you want to use a landscape image when posting you tour links.
9) Square Posts - You can create and customize your square post images. Be sure to set your default share image for you listing in the square post if you want to use a square image when posting you tour links.
10) Pinterest - you can create and customize your Pinterest post here.
11) Print-Ready Flyers - You can create and edit print ready flyers
12) Weekly Traffic Report - Edit and customize your weekly traffic report. You can edit the subscriptions, view current report and schedule and send the report.
You can find the real estate commission advertising requirements for marketing @ https://www.ncrec.gov/Pdfs/Rules/NCRECLawAndRules.pdf and NAR has additional advertising requirements if you are a REALTOR® and can be found @ https://www.nar.realtor/legal/risk-management/nar-internet-advertising-policy
* Note - The name of the agent's firm must appear in all post and ads. If it is not on the marketing kit image you can add it or add the firm name to the text that will display with the post or ad. Failure to have the registered firm name displayed will result in a blind ad which is not allowed in NC real estate commission.
* Still need help with the marketing Kit? Use the link below at access our video tutorial,
Marketing Kit Tutorial Video
This Completes The Marketing Kit
You are now ready to take your marketing to the next level. Now get out there and post you listing materials at lease once a week on all you social media sites. Also look for social media groups/pages which service the area your listing is located in and post your listing. Be careful not to spam these groups or you could get blocked. We recommend posting no more than once every 7 to 10 days on each site and don't repost the same content over and over. Change it every week to keep your marking looking fresh.
Recommended Social Sites to market your listing: Facebook, TikTok, Instagram, Pinterest, X.com, YouTube, Threads, Linkedin, Your Google Business Page,
Step Six - Listing Pages
1) You can create a listing page that will display all you listing tours on one page. Click the Create A New Listing Page button. You can customize your listing page by clicking the customize button or do nothing and go with the default settings. Note: you can customize you page an any time. Once completed click on the pencil next to the red inactive and select active in the dropdown box. To change the status of the listing page you can select inactive or archived which will delete the page.
You Have completed your account and tour setup!
What to Change the Site Design or Tour Music?
1) Go to Site Design on the left side menu. Here is where you can change your music or even change the layout and design of the single property site. You can even modify the site URL (Not Recommended)
What is the Lead Capture Tab?
1) You can use the Lead Capture phone number on you ads and the system will capture the leads information so you can follow up with the lead. This system also includes a SMS text code autoresponder to capture leads.
Under your Account section you will also find additional items
Reports - You can see you purchase history and account access.
Payment Types - You can see what Payment Types have been used.
Pay Invoices - You can see all your past invoices.
Update Password - You can change you account password here
App Integration - You can setup your Youtube and Vimeo accounts to automatically post your slideshows to your accounts here.
Have a Question? Check out our FAQ Page
Don't forget our Referral Program!
Share your agent referral code with clients you refer to us and when they book a shoot using your referral code you will receive a $25 credit to your account. You will find you referral cord on your main account page...
If you have any questions please don't hesitate to contact us at the studio 336-918-3411 or send an email to mark@markjacobsproductions.com Be sure to check out or FAQ page for frequently asked questions @ www.markjacobsproductions.com/faq